Beyond the Snapshot: Capturing the Soul of a Place
The urge to capture and preserve the fleeting moments and breathtaking vistas encountered during travel is one of the oldest human impulses, yet in the age of omnipresent smartphone cameras, the ability to create truly Stunning Vacation Photos often feels elusive. Moving beyond the quick snapshot requires more than just expensive equipment; it demands a mindful approach to composition, an understanding of light, and the strategic application of simple, non-destructive editing techniques that enhance, rather than distort, the original memory.
Travel photography, at its heart, is a form of visual storytelling, where the goal is to convey the unique atmosphere, the energy, and the emotional connection you felt in a specific location, transforming a mere image into a powerful piece of visual narrative. This extensive guide is dedicated to demystifying the process, detailing a minimalist yet high-impact gear setup for all levels (from smartphone to mirrorless), introducing the core principles of evocative composition (framing, leading lines), and providing a step-by-step masterclass in post-processing that ensures your images retain their authenticity while achieving the vibrant, polished look worthy of print or portfolio.
Phase One: Minimalist Gear Selection
A successful travel photography kit prioritizes low weight, versatility, and durability, ensuring the gear never becomes a burden that prevents you from shooting.
The best travel camera is the one you are most willing to carry with you all day, every day.
A. Camera Body and Lens Philosophy
Choosing the right camera and minimizing the lens selection are the most crucial decisions for balancing quality and portability.
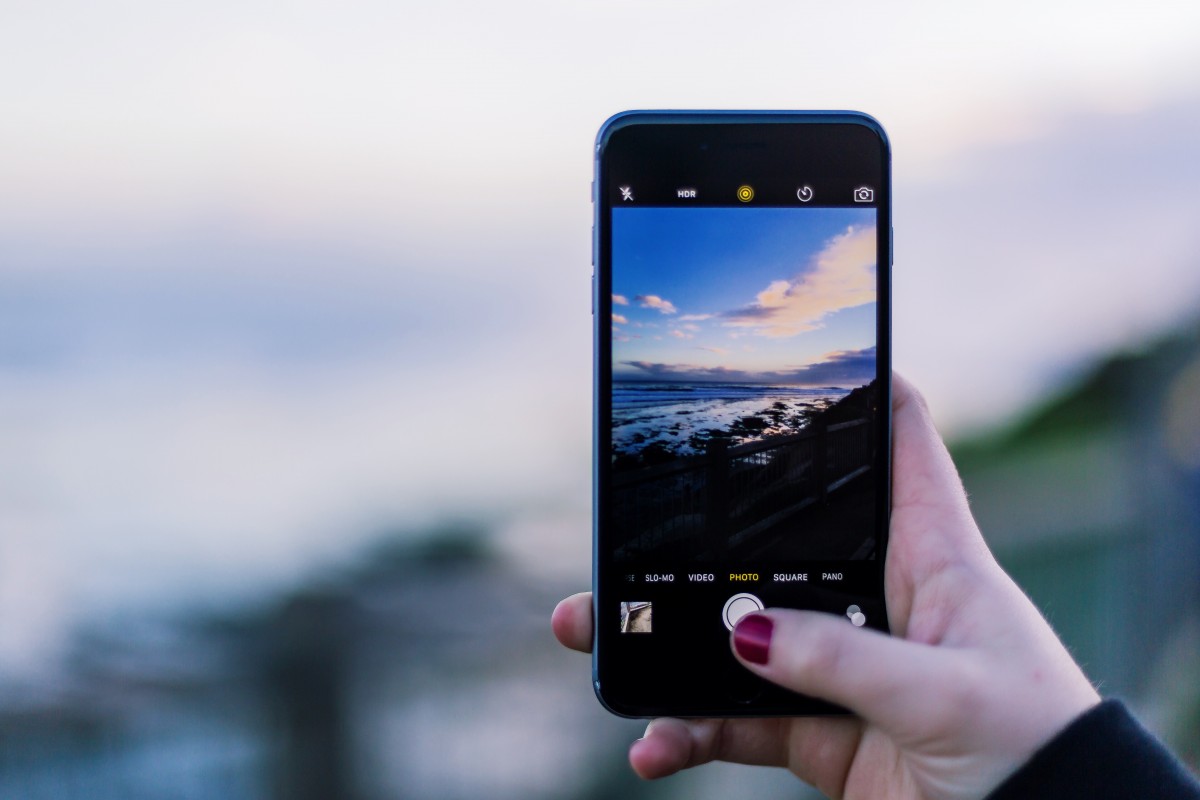
- The Smartphone Revolution: Recognize that the latest smartphone cameras (iPhone Pro, Google Pixel) are powerful enough for 90% of travel situations, especially for low-light performance and point-and-shoot convenience.
- Mirrorless Advantage: If seeking professional-grade images, choose a modern Mirrorless Camera (e.g., Sony Alpha, Fujifilm X-series) over heavy DSLRs, as they offer comparable sensor quality at half the size and weight.
- The Single Zoom Lens: Limit yourself to one highly versatile zoom lens (e.g., a $24-70$mm equivalent). This covers the wide-angle shots of architecture and landscapes, as well as the standard range for street portraiture, minimizing gear weight.
- The Prime Lens: Consider adding one compact Prime Lens (e.g., $35$mm or $50$mm fixed focal length). These lenses are lightweight and feature wide apertures, essential for low-light street photography and achieving that beautiful, creamy background blur (bokeh).
- No Camera Bag Rule: Carry your camera on a comfortable strap or clip system (like Peak Design Capture Clip) rather than a bulky bag, making it instantly accessible and reducing the mental barrier to taking a photo.
B. Essential Accessories
Accessories must be chosen for maximum utility, specifically addressing the common challenges of travel (low light, stability, charging).
- Lightweight Travel Tripod: Pack a compact, lightweight tripod (either a GorillaPod or a small carbon fiber travel tripod). This is essential for long-exposure shots (night photography, waterfalls) and for taking self-portraits without asking strangers.
- Extra Batteries/Power Bank: Carry at least two extra camera batteries, as intense shooting days will drain them quickly. For smartphones, a high-capacity power bank is non-negotiable.
- High-Capacity SD Cards: Pack several high-speed, high-capacity SD cards. Never rely on one single card; swapping cards regularly prevents the catastrophic loss of all images if a single card fails.
- Polarizing Filter (CPL): A polarizing filter is the most effective lens accessory for travel photography. It reduces glare on water and glass and enhances the saturation of blue skies and green foliage, making colors pop without editing.
- Lens Cleaning Kit: Carry a small microfiber cloth and a lens pen. Dust, fingerprints, and smudges are the most common cause of poor image quality, especially on phone lenses.
Phase Two: Mastering Composition and Light
The most significant difference between a good photo and a great photo is not resolution, but the deliberate, thoughtful arrangement of elements within the frame.
Focus on making the viewer’s eye move through the image to the main subject using classic compositional rules.
A. Compositional Rules for Impact
Classic composition techniques provide a reliable framework for creating balanced, engaging, and professional-looking images.
- Rule of Thirds: Mentally divide your frame into nine equal sections using two vertical and two horizontal lines. Place your main subject or key compositional elements along these lines or at their intersections for a more balanced and dynamic image than center placement.
- Leading Lines: Actively seek out lines—roads, rivers, fences, shadows, railings—that draw the viewer’s eye from the foreground into the background and toward your main subject.
- Framing: Use natural elements (doorways, windows, tree branches) to frame your subject. This adds depth, context, and a sense of looking into a scene.
- Foreground Interest: Never let the foreground be empty. Include an interesting element (a coffee cup, a flower, a street sign) close to the lens to give the image scale and context.
- Negative Space: Utilize open, uncluttered areas (like a clear sky or a blank wall) to give the main subject room to breathe and draw attention to it, creating a more minimalist, sophisticated look.
B. The Power of Travel Light
Light is the single most important factor in photography; understanding when and how to shoot in specific light conditions is essential.
- Golden Hour (Magic Light): Always prioritize shooting during the Golden Hour (the hour immediately after sunrise and the hour immediately before sunset). The warm, soft, low light creates long shadows and rich colors that make everything look beautiful.
- Blue Hour: The Blue Hour (the short period just after sunset or before sunrise when the sky is deep blue) is the best time for cityscapes, combining the deep blue sky with the warm glow of streetlights and buildings.
- Avoid Mid-Day Sun: Strictly avoid shooting architecture or people in the harsh, direct overhead sun (10 AM to 3 PM). This creates flat, high-contrast images with harsh shadows on faces.
- Backlighting for Portraits: For portraits, place the subject with the sun behind them (backlighting). This creates a beautiful, soft rim light around their hair and shoulders, but requires you to compensate exposure.
- Shade is a Studio: When shooting people in harsh light, move them into open shade (like the edge of a building or under a large tree). The shade provides soft, even, and flattering light, essentially acting as a giant softbox.
Phase Three: Post-Processing Mastery (The Digital Darkroom)
Editing is where a raw image is transformed into a finished, print-worthy work. Simple, non-destructive adjustments are the key to a professional look.
Editing is about enhancing the reality you experienced, not fundamentally changing it.
A. The Essential Editing Software
Regardless of your device, these simple, powerful apps offer all the necessary tools for professional-grade edits on the go.
- Adobe Lightroom Mobile: The industry standard, offering superior control over color, tone, and detail. The mobile version syncs with the desktop version and is the ultimate tool for non-destructive editing (edits can always be undone).
- Snapseed (Free & Powerful): A free app from Google that offers incredibly powerful and intuitive tools, especially for localized adjustments (editing only a small part of the image, like brightening a face).
- VSCO: Popular for its high-quality film emulation presets (filters), VSCO is excellent for adding a consistent, cinematic, or vintage mood across an entire series of travel photos.
- Batch Editing: Utilize the power of Batch Editing. Once you find a look you love, copy the edit settings (Exposure, Contrast, Color Mix) from one great photo and paste them onto dozens of similar photos to maintain a consistent aesthetic across your entire trip.
- Organization: Immediately import and tag your photos daily, using keywords (e.g., Paris, Sunrise, Street Food) and star ratings to quickly find your best shots later, preventing a massive backlog.
B. The Five-Step Editing Workflow
Use a consistent, sequential workflow to ensure no critical step is missed and to maximize the image quality.
- Crop and Straighten (The Foundation): First and most importantly, use the crop tool to perfectly straighten the horizon line and apply the Rule of Thirds or other desired compositional crop.
- Exposure and Contrast (The Tone): Adjust the overall Exposure (brightness), then refine the shadows, highlights, whites, and blacks to bring out maximum detail in both the darkest and lightest parts of the image.
- Color Calibration (The Vibe): Adjust the White Balance (temperature/tint) to remove unwanted color casts, then selectively adjust the saturation and hue of individual colors (e.g., making the blues of the sky deeper, or the reds of a market stall brighter).
- Clarity and Sharpening (The Polish): Use the Clarity slider to add texture and definition to mid-tones, and the Sharpening tool to bring out fine detail (but avoid over-sharpening, which creates an unnatural halo effect).
- Noise Reduction and Export: Apply slight noise reduction to images taken in very low light, then export the image using the appropriate size and file type for sharing (e.g., JPEG for social media).
Final Thoughts on Travel Photography
Mastering travel photography is less about acquiring the latest, most expensive lens and more about developing a sharp, observant eye for composition and a disciplined editing workflow. Embrace the simple gear—a versatile lens and a powerful phone—to remain agile and inconspicuous. Dedicate time to shooting during the Golden Hour, and always use compositional tools like the Rule of Thirds to guide the viewer’s attention. Most importantly, use post-processing not to fabricate a scene, but to enhance the beauty that was already there. When you combine a great memory with compelling light and strong composition, you transcend the casual snapshot and create a truly stunning photograph that tells the authentic, powerful story of your journey.